Texture Bombing Shader for Mantra
Download Here (Indie license only)
If you would like to donate or use the shader in a studio (studio price will be lowered soon, so don’t buy it yet), please consider downloading via orbolt.com
http://orbolt.com/asset/fxtd::pc_textureBomb::1.0
http://orbolt.com/asset/fxtd::pc_textureBomb_layer::1.0
http://orbolt.com/asset/fxtd::texturebombscatter
http://orbolt.com/asset/fxtd::textureBombPreview
Asset is comprised of 4 otls and example file. The example file does not come with the maps used for projections. It’s just a quick setup to show how it works.
Description
pc_textureBomb is vex shader that uses a pointcloud to drive texture stamping/bombing onto an object. It features:
- Does not require tileable maps
- Use up to 5 Map Layers with 5 maps each that can be randomly picked, or driven by a Cd attribute on the points.
- Easy to composite multiple sets of texture bombs together
- Overlaps are handled by fading out from the center of the point outwards
- Can use the Alpha from bombed image or just use built in fade by distance
- Angle based fading (dot product) can also be used to minimize stretching over sharp edges
- 2 sops to help generate and preview the pointcloud. Includes simple pcfilter function on the normals so you can get a better projection from the points.
- Can be used directly for full renders as it does not require uvs.
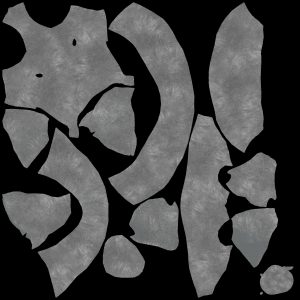
- I would suggest baking it to a map first — very lazy and quick uv unwraps work well for baking in most cases
- Art directable rotations (shader will read N and up from pointcloud)
- See blog post for some more examples
***Disclaimer*** I am still unable to get rid of some shading artifacts near the borders of the point overlaps. The shading derivatives in these areas will often come out nasty — I’ve tried everything I can think of….
Quick Start
I’m going to quickly show you how to scatter some points onto a grid and then hi-jack the principled shader’s diffuse using the texture bombing assets in a ‘live’ setup. Refer to the demo file for a simplified bake setup and to also see this in a more complete state.
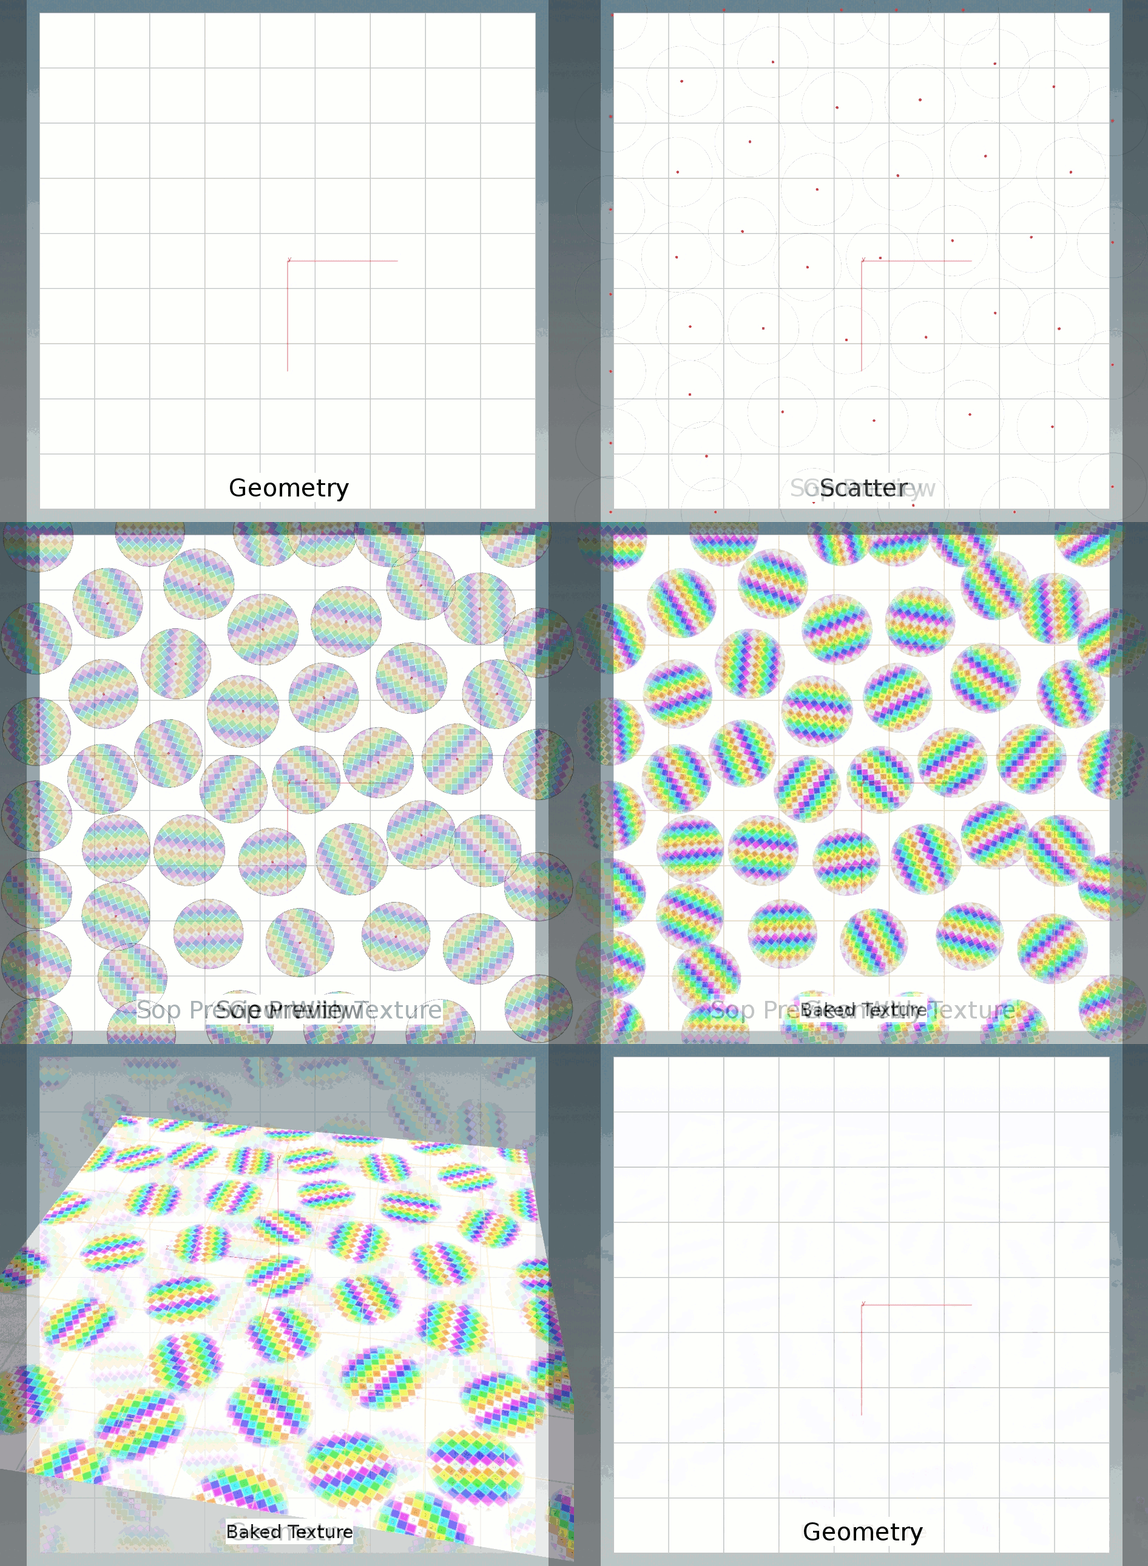
- Create a new scene and put down a grid
- Place a texturebombscatter node and plug the grid into it.
- Place a texturebombpreview node and plug the texturebombscatter node into it
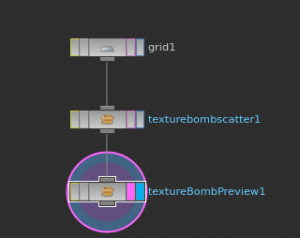
- Set the Min Pscale and Max Pscale on the preview to around .9 to get an idea of the values you’ll want to use on the shader. Also feel free to switch out the preview texture with your own.
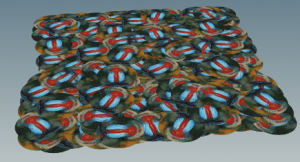
- Save your hip file, and then go back up to the texturebombscatter node. Click Save to Disk, and check “Load from Disk”. This saves the pointcloud to disk so we can read it later on in the shader.
- Add a rest position sop node and set the display and render flag to this node.
- Now that we’ve baked out the points, put down a Principled Shader into your shop network. Right click the node and then click “allow editing of contents so we can actually plug in the texture bomb shader.
- Find the basecolor section of the shader, and place down a pc_TextureBomb node, and a pc_TextureBomb_Layer node nearby.
- Plug in the layer node into mapLayer1 input of the pc_TextureBomb node
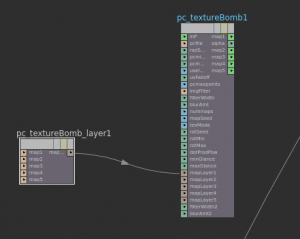
- Add a Rest Position node and plug it into the inP input.
- Right click the pc_TextureBomb node and go to Vex/Vop Options -> Create Input Parameters. This will make the parameters visible on the principled shader. Do this for the pc_TextureBomb_layer node as well.
- Put down a composite node and plug map1 into A and alpha into Aa. Then plug the basecolor color into B.
- If all is setup correctly this should be what your shader network now looks like.
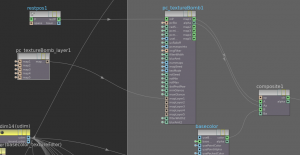
- Now go up the principled shader and go to pcfile. Point it to your baked point cloud, or create a channel reference to the sop. If you’re folloing along exactly, it should be: `chs(“/obj/grid/texturebombscatter1/file”)`
- Set your Min Radius and Max Radius to the pscale values we set earlier. (or channel reference them)
- Set Map1 to the texture you want to bomb. ( $HFS/houdini/pic/Mantril.rat for me )
- Assign the principled shader to the grid and hit render. You should see something like this:
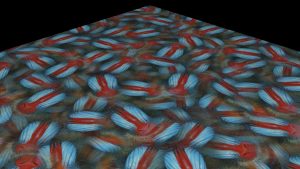
- If you plug in additional map layers, the shader will randomly select between them. If you have multiple maps in each map layer, set the “Maps Per Layer” to the number of maps you have to output maps in those slots (2-5)..
Reference
pcTextureBomb – this is the shader that loops over the points and composites the images for you
- pcfile – pointcloud to project textures from
- Radius Seed – random seed for radius values
- Min Radius / Max Radius – Sizes used for randomly scaling the texture projections
- Use Image Alpha – will use the image’s alpha map if it has one (great for scattering leaves or grunge maps)
- UV Alpha Falloff Hardness – the lower this value, the softer the blending, the higher this value, the harder the edge. The image alpha and this get multiplied together for the final alpha for the compositing operation
- Number of points – keep this as low as possible without artifacting for speed and efficiency. At a value of 1 you each pixel will only use the closest point for texture projection, with no blending / compositing operations. This will look very much like a voronoi pattern.
- Maps Per Layer – for each map layer connected, perform compositing over each map within the layer up to the number of maps per layer. This is again for speed. If you are only texture bombing a diffuse map, you don’t need to perform the extra operations of map2-5.
- Image Filter – type of filtering to use on the image see help docs
- Filter width – see help docs
- Texture Blur – see help docs
- Filter Width 2 – this applies only to map2, which allows you to alter the filtering for the map2 textures. This is helpful for blurring displacement maps
- Texture Blur 2 – his applies only to map2, which allows you to alter the blur amount for the map2 textures. This is helpful for blurring displacement maps
- Map Seed – change the random seed of the mapLayer selection
- Texture from Cd.x attribute – if you saved a Cd value on the point cloud, you can use the color to drive which map layer is selected, where black is mapLayer1, white is mapLayer5
- Rotation Seed – seed value used for randomly selecting rotations
- Rand Rotation Min / Max – set the min / max values of rotation based on the stored up attribute
- Dot Product Falloff – fades the projection out based on the Glancing Angle parms. This helps with sharp corners and projections that are stretching.
pc_TextureBomb_layer – this outputs a string array for the pc_TextureBomb to iterate over
- map1-5 – these correspond to the final composited outputs on the pc_TextureBomb node
textureBombScatter – a convenient sop for scatter points for use with the pc_TextureBomb shader
- This node is basically just a file cache node a scatter node, and a few simple vops. The vops smooth the normals to provide better projections, and calculate an up vector so what you see in sops should be consistent with what you get in the shader.
- For the normal smoothing tab, enable normals in the viewport and increase the radius and number of points until you are happy with the normals and the way the preview looks
- Refer to sidefx docs on file cace and scatter sop
textureBombPreview – basic node for previewing the projections in your viewport
- See pc_textureBomb for reference of parms.
Example Images
See the blog post here for more images
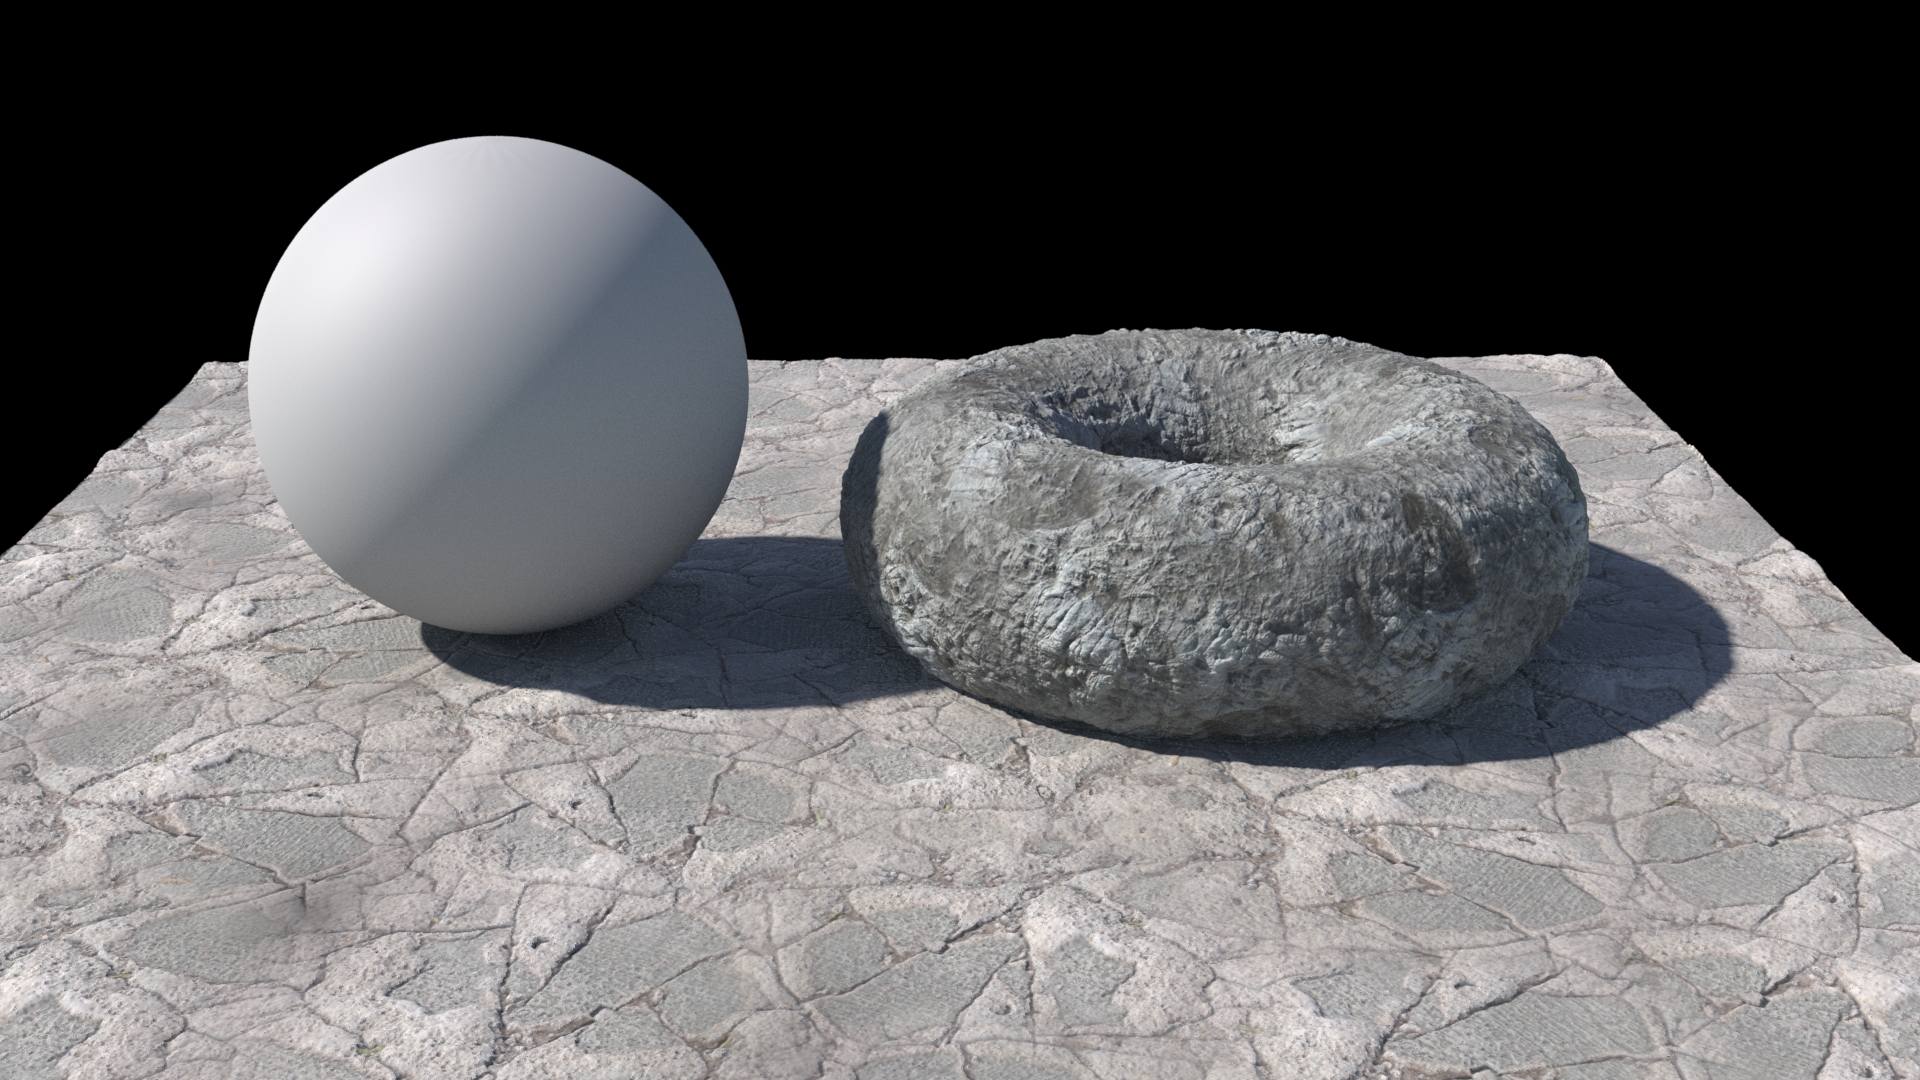
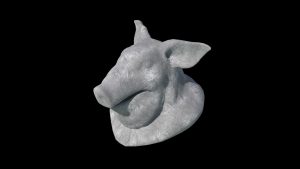
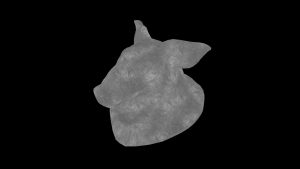
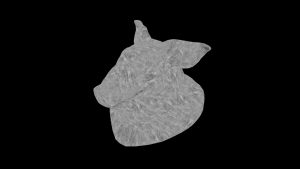
Here are some images rendered from the example file:
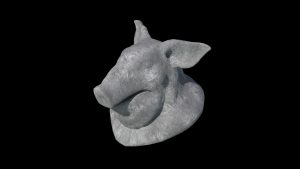
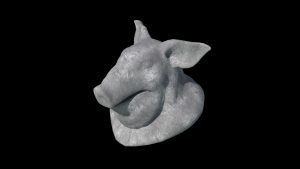
2k baked_displacment
