here, pong game hip! (Houdini 20.5)
did some cleaning/commenting if anyone is curious about the inner works. But basically:
– chop “keyboard” listens for a couple key presses (in momentary mode) – dopnet takes care of moving blocks at every chop signal, since its a simulation, movement is cumulative – RBD wise, I have : – ball (active=1) – player 1 and 2 blocks (active=0, they still collide, but movement driven by the dopnet) – top/bottom walls (active=0) – power ups (made into rbds for easily collision checking against player blocks) – all elements have collisiongroup / collisionignore bullet attrs
Power ups: (this was the most fun part of this little project for me!)
– 2 types available: “timed” and “one-shot”. “Timed” has duration, “one-shot” shots a projectile that hits enemy block – the behaviors are mostly defined in popwrangles or sopsolvers, and are easy to manage (except for one that rotates enemy block, it has to be injected into the block moving logic 😓 ) – spawn rate/seed etc, along with other game controls, available in a ctrl null. – avaliable power ups: – L (Large) = grow player block 2x the size for a couple seconds – F (Freeze) = shots a snowball that freezes enemy block for a couple seconds upon hit – S (Speed) = makes block move faster – R (Rotate) = shots a projectile that makes enemy block rotate for a couple seconds – M (Magnet) = attracts the ball towards your block, then action key shoots it back with lots of energy
Skins:
– I have a post sim tree that takes care of applying skins to each element – ball has trail flames – blocks have different animations/ embelishments according to the power ups acquired – projectiles visuals, etc – easy to extend and/or change!
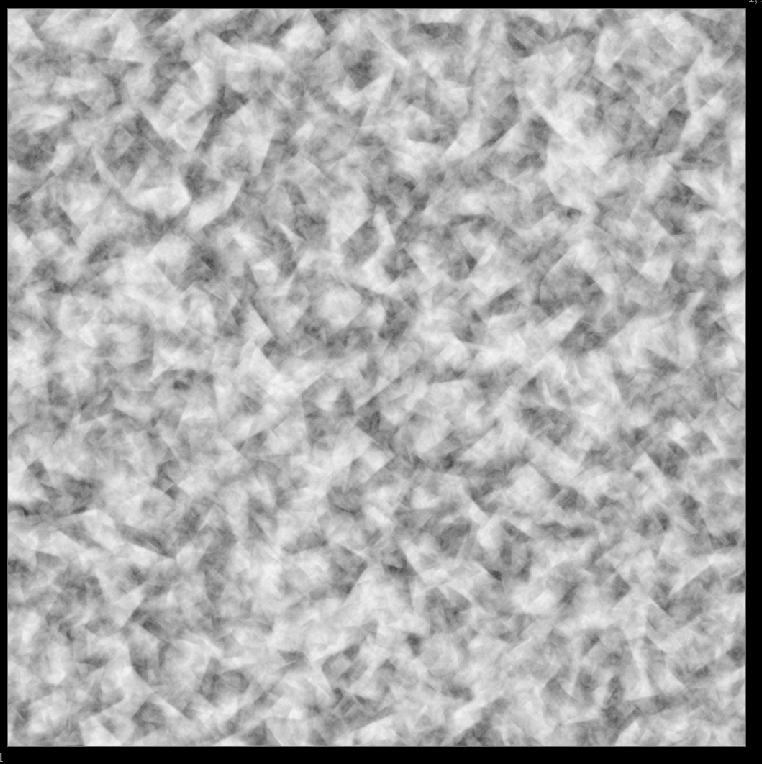
theme bg’s were a nice exercise..they are all made in copernicus, check “backrgound” node.
Attachments in this post:
http://fx-td.com/houdiniandchill/wp-content/uploads/discord/20244710/17/24/Pong.hiplc